At Klein Cooling, we understand the importance of maintaining optimal indoor humidity levels for comfort and health.
HVAC humidifier installation can significantly improve your home’s air quality and overall living environment. This guide will walk you through the process of selecting and installing the right humidifier for your HVAC system.
We’ll cover everything from choosing the appropriate unit to the step-by-step installation process, ensuring you have all the information needed for a successful setup.
Which HVAC Humidifier Is Right for You?
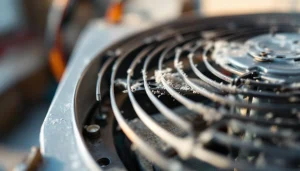
Understanding HVAC Humidifier Types
Bypass humidifiers take warm air from your home’s HVAC system and pass it through a water tray, where the air picks up moisture before re-entering your home. Fan-powered units provide more efficiency but produce slightly more noise. Steam humidifiers, while more expensive, offer the most precise humidity control and operate independently of your HVAC system.
Key Selection Factors
When you choose a humidifier, consider your home’s size, your local climate, and your HVAC system’s compatibility. For example, homes in Palm Coast, FL, may require different humidification needs compared to drier climates. Your budget also plays a role, with prices for whole-house systems ranging from $300 to $1,500 (according to HomeAdvisor).
Sizing Your Humidifier Correctly
Proper sizing ensures effective humidification. An undersized unit won’t adequately humidify your space, while an oversized one can lead to excess moisture and potential mold issues. You’ll need about 3 gallons of moisture per 1,000 square feet of living space daily. However, factors like insulation quality and local climate can affect this estimate.
Energy Efficiency Considerations
ENERGY STAR® certified furnaces are generally at least 10% more efficient than standard models. This translates to significant savings over time, especially in larger homes. The U.S. Department of Energy reports that proper humidity levels can make your home feel warmer, potentially allowing you to lower your thermostat and save on heating costs.
Installation and Maintenance
The installation process varies depending on the type of humidifier you choose. Some models (like bypass humidifiers) require professional installation, while others (such as portable units) you can set up yourself. Regular maintenance (including filter changes and cleaning) ensures optimal performance and longevity of your humidifier.

Now that you understand the types of HVAC humidifiers and factors to consider, let’s move on to the preparation steps for installation.
Preparing Your Home for HVAC Humidifier Installation
Assembling Your Tool Kit
The first step in preparing for your HVAC humidifier installation is to gather all necessary tools and materials. You’ll need:
- Drill with various bits
- Level
- Aviation snips
- Screwdriver set
- Pliers
- Utility knife
- Teflon tape
- Electrical tape
- Wire nuts
- Sheet metal screws
- Safety gloves and glasses
Having everything ready beforehand will save you time and reduce frustration.
Prioritizing Safety
Safety should be your top priority when working with HVAC systems. Follow these steps:
- Turn off the power to your HVAC system at the circuit breaker.
- Verify the power is off by attempting to turn on your system.
Selecting the Ideal Installation Location
The effectiveness of your humidifier depends largely on its location. Consider these factors:
- Install on the supply side of your furnace ductwork for optimal moisture distribution.
- Ensure enough space for maintenance access.
- Consider proximity to water supply and drainage options.
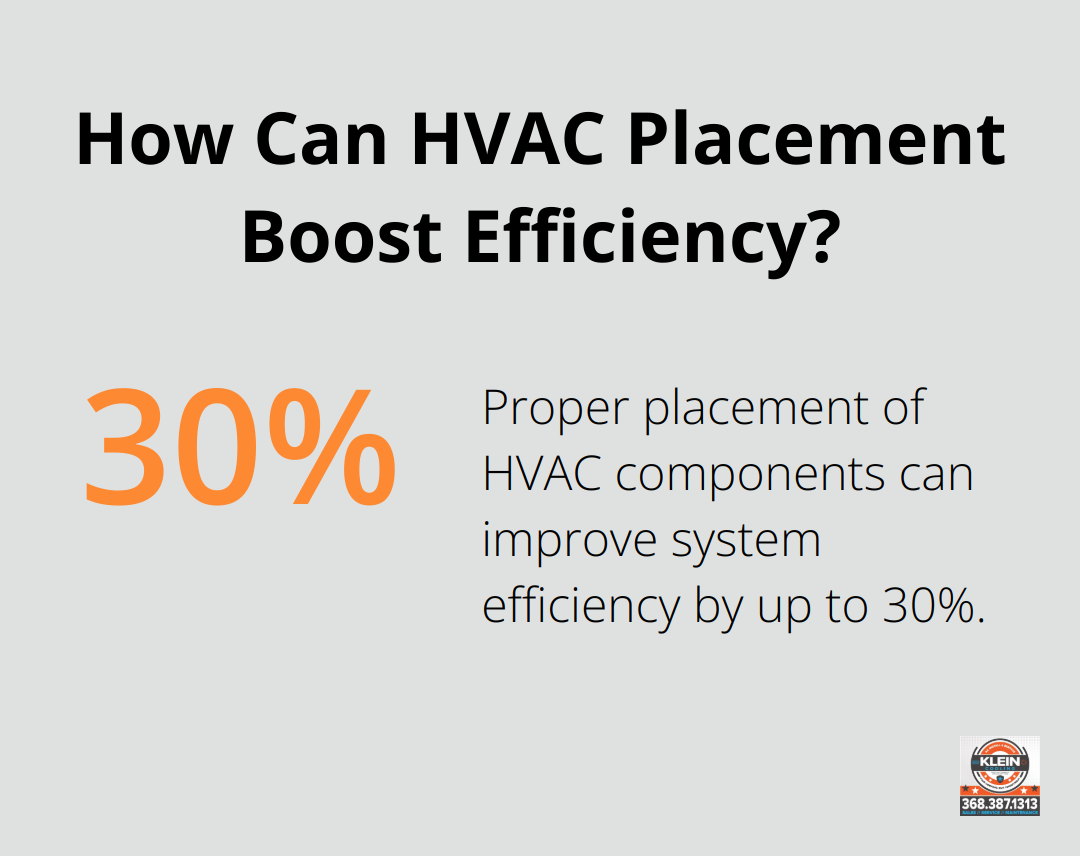
A study by the Lawrence Berkeley National Laboratory found that proper placement of HVAC components can improve system efficiency by up to 30%.
Measuring and Planning
Before you begin the installation process, take accurate measurements of your chosen installation spot. This will help you:
- Determine if you have enough space for the humidifier
- Plan for any necessary modifications to your ductwork
- Ensure you have the right length of water supply line and drain hose
Preparing Your HVAC System
The final step in preparation is to clean your HVAC system. This includes:
- Changing the air filter
- Cleaning the ductwork (if necessary)
- Inspecting for any existing issues that might affect the humidifier’s performance
With these preparation steps complete, you’re ready to move on to the actual installation process. In the next section, we’ll provide a detailed, step-by-step guide to installing your HVAC humidifier.
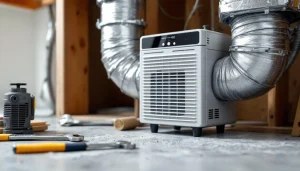
How to Install Your HVAC Humidifier
Mounting the Humidifier
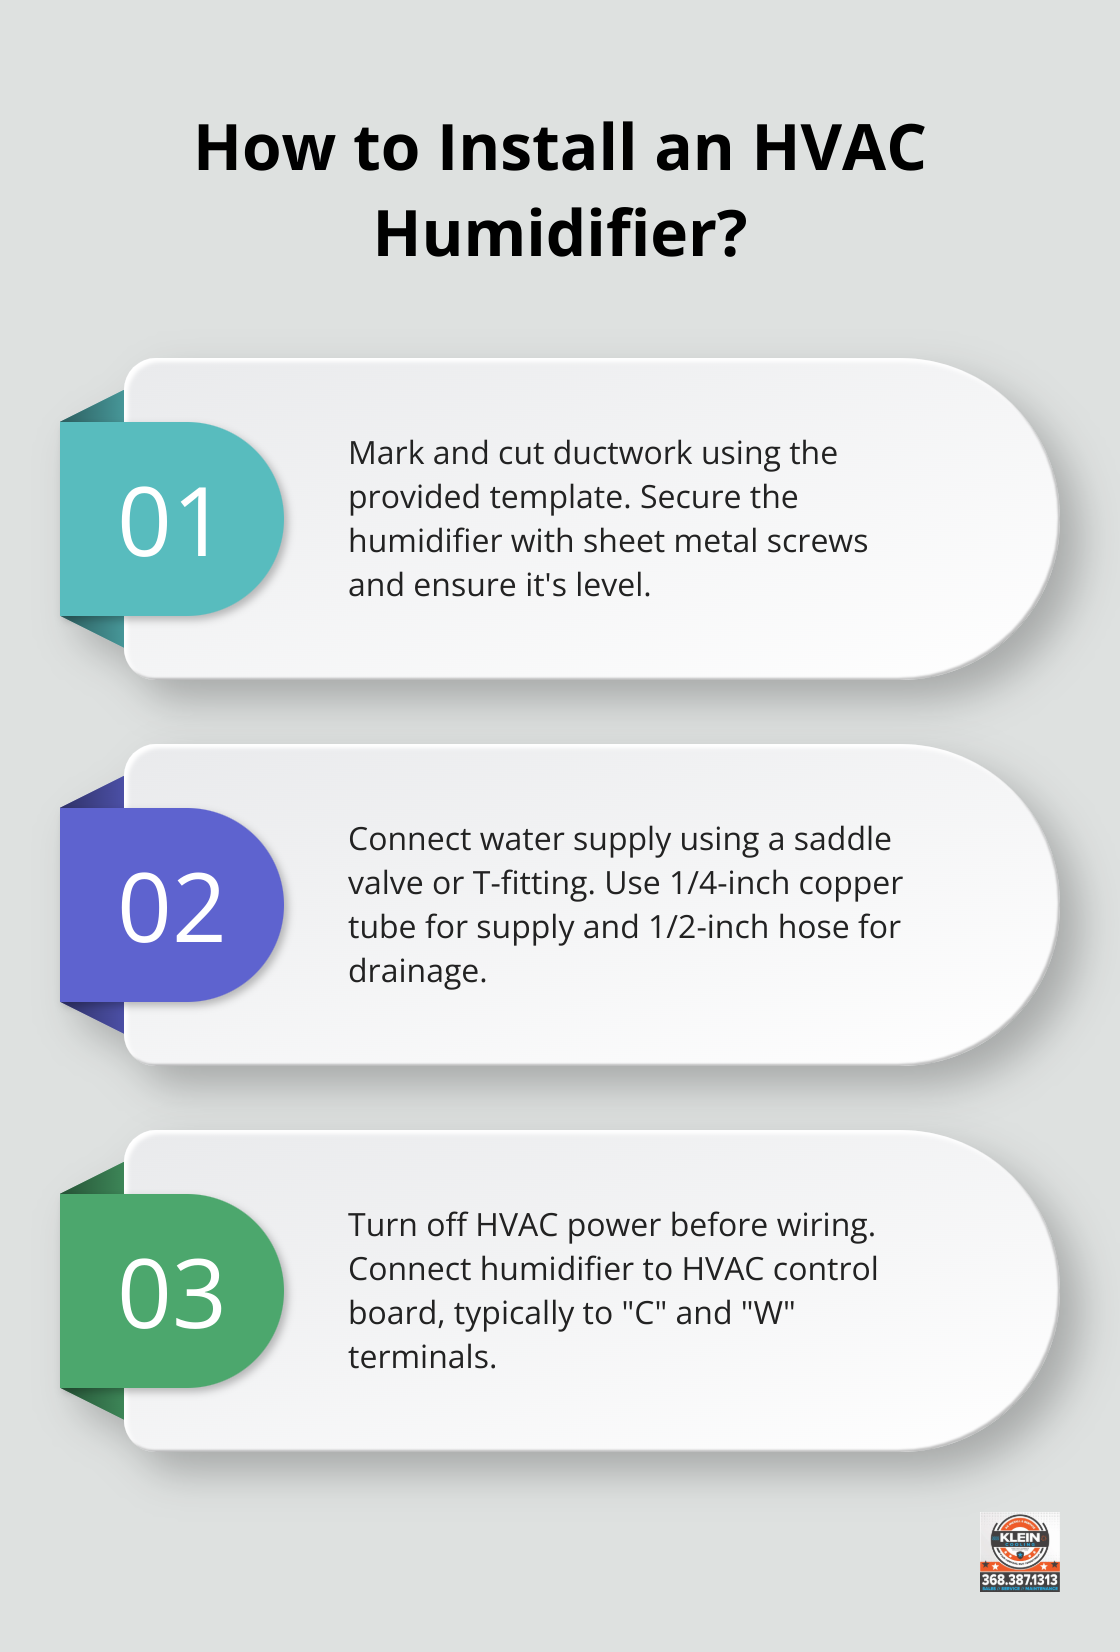
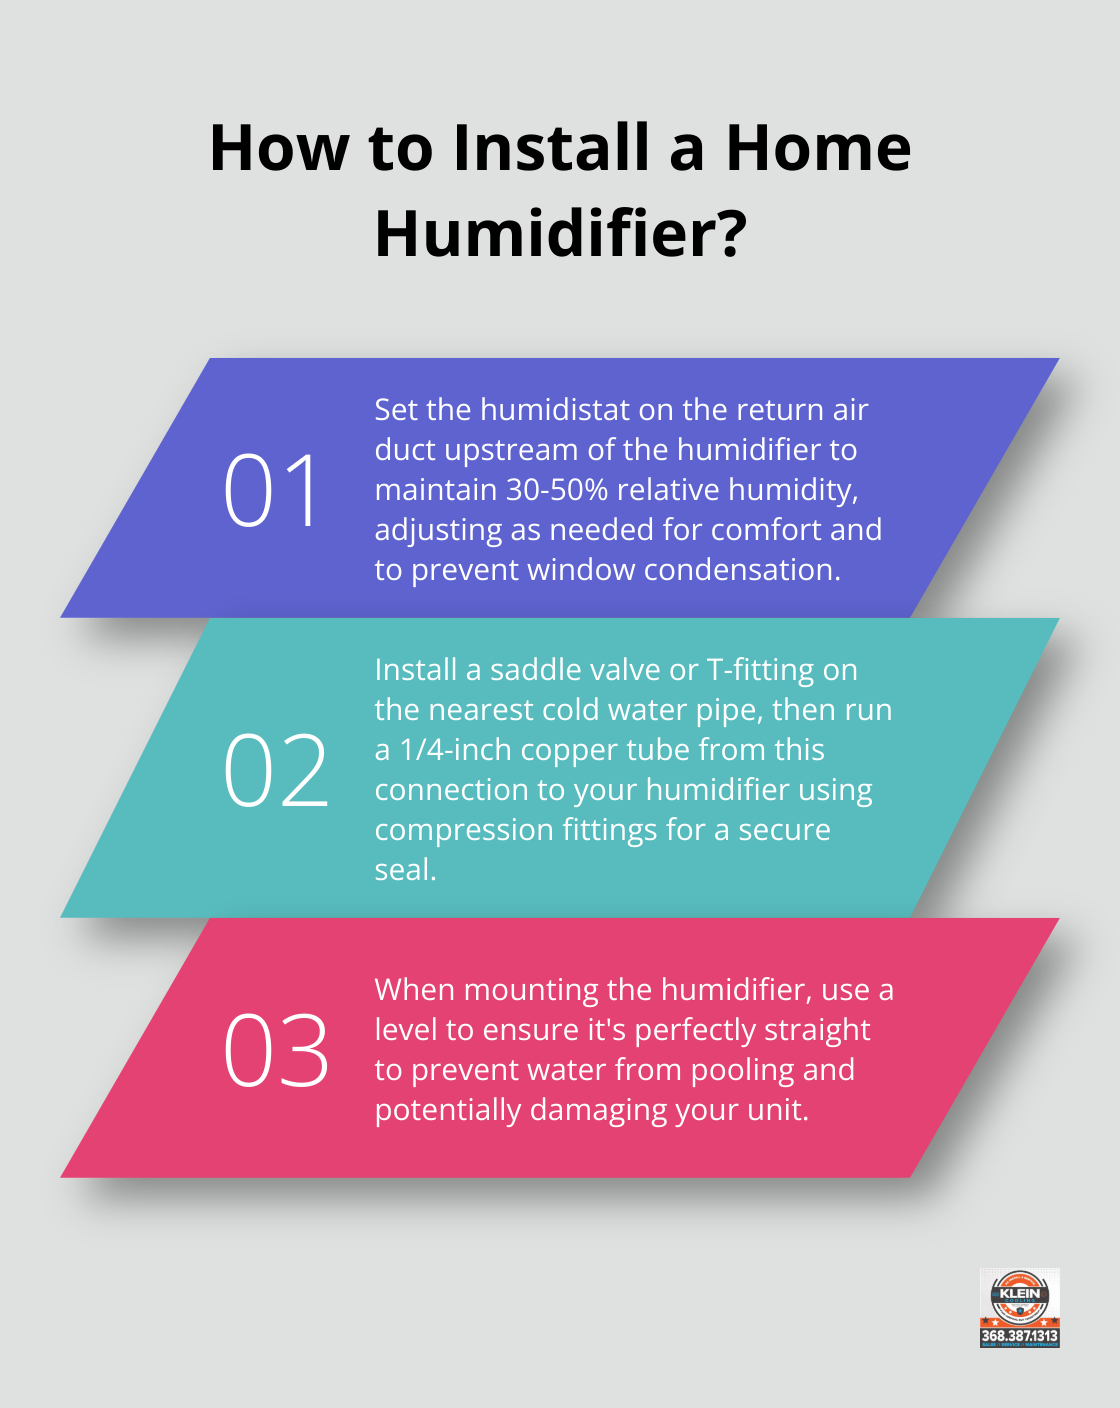
Mark the installation spot on your ductwork using the template provided with your humidifier. Cut the opening with aviation snips, and create smooth edges. Position the humidifier and secure it with sheet metal screws. Use a level to ensure it’s perfectly straight (this prevents water from pooling and potentially damaging your unit).
Water Connections
Connect the water supply line. Locate the nearest cold water pipe and install a saddle valve or T-fitting. Saddle valves are fine for a line to a humidifier, but for other applications, it’s better to T off the main line with 1/2″ copper and then install a valve. Run a 1/4-inch copper tube from this connection to your humidifier, using compression fittings for a secure seal. For the drain line, attach a 1/2-inch hose to the humidifier’s drain port and route it to a nearby floor drain or utility sink. The hose must have a continuous downward slope to prevent water backup.
Electrical Wiring
Double-check that the power to your HVAC system is off before proceeding with any electrical work. Connect the humidifier to your HVAC system’s control board, following the manufacturer’s wiring diagram. This typically involves connecting to the “C” and “W” terminals. Use wire nuts to secure all connections and electrical tape for added insulation. If you’re unsure about this step, consult a professional.
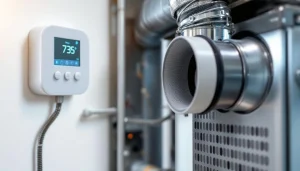
Humidistat Installation
The humidistat maintains optimal humidity levels. Install it on the return air duct, upstream of the humidifier. Cut a small hole, insert the humidistat, and secure it with screws. Wire it to the humidifier and HVAC control board as per the manufacturer’s instructions. Set the humidistat to maintain 30-50% relative humidity, adjusting as needed for comfort and to prevent condensation on windows.
Professional Installation Considerations
Improper installation can lead to water damage, mold growth, or electrical hazards. If you’re not confident in your DIY skills, call in professionals. They have the expertise to ensure your humidifier is installed correctly and functions efficiently, providing you with optimal indoor comfort year-round.
Final Thoughts
HVAC humidifier installation requires careful planning and precise execution. We at Klein Cooling understand the complexities involved in selecting, mounting, and connecting these systems. Professional installation often yields the best results, as experts can handle unexpected challenges and ensure correct setup from the start.
A properly installed HVAC humidifier maintains ideal indoor humidity levels, which improves respiratory health and protects wooden furniture. It can also make your home feel warmer, potentially leading to energy savings (as you might lower your thermostat setting). These benefits highlight the importance of correct installation for optimal performance.
For those in Palm Coast, FL, and surrounding areas, Klein Cooling offers expert HVAC services, including humidifier installation. Our family-owned business prioritizes honesty and exceptional service, providing tailored solutions for your comfort. We cover all aspects of HVAC systems, helping you achieve optimal indoor air quality and comfort throughout the year.